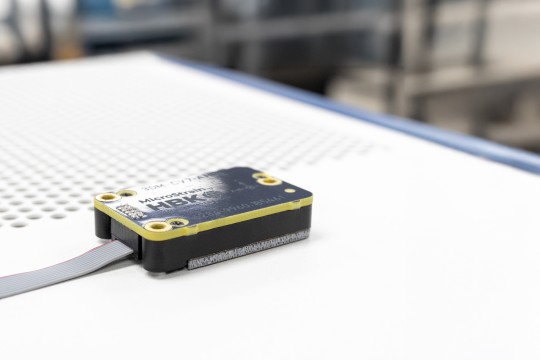
Foam Isolation Mount
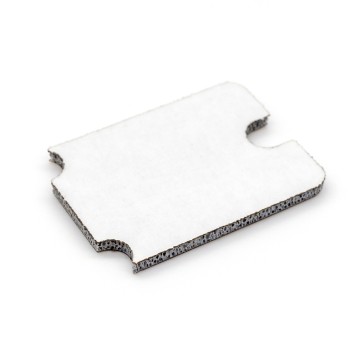
In unique applications, high impact shock and vibration can cause an erroneous offset in the output of the CV7 due to a phenomenon called Vibration Rectification Error. MicroStrain has developed a small, low cost, and easy to install isolation mount that mitigates the effects of Vibration Rectification Error in these challenging applications. The following provides instructions for how to install that foam isolation mount for the CV7 (P/N: 6212-0396).
Installation instructions
-
Clean the bottom of the CV7 and the mounting surface with Isopropyl Alcohol.
-
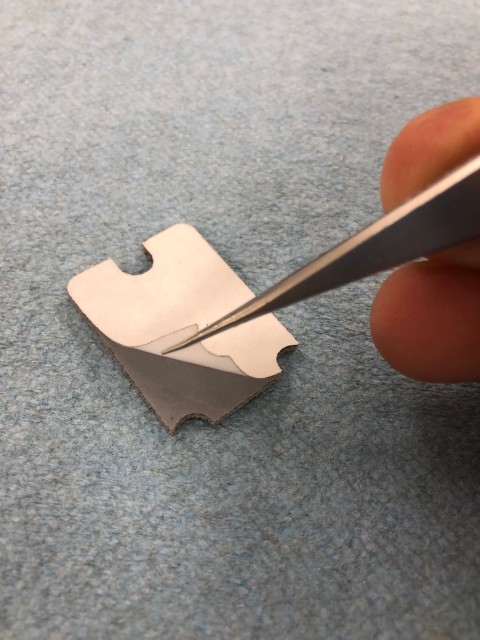
Peel off one side of backing with tweezers.
-
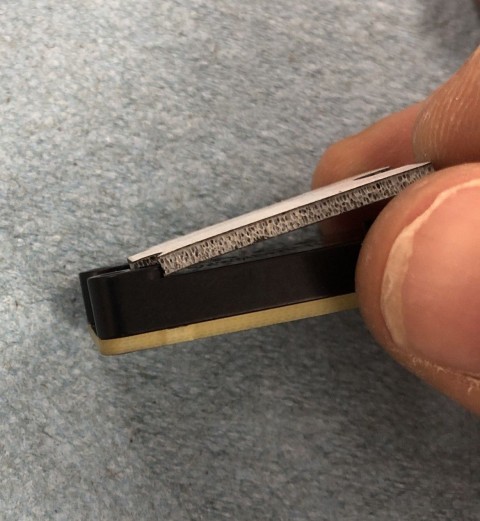
Place the adhesive side of the foam with the removed backing onto the bottom of the CV7 by locating it using the edges of the two mounts, as shown.
-
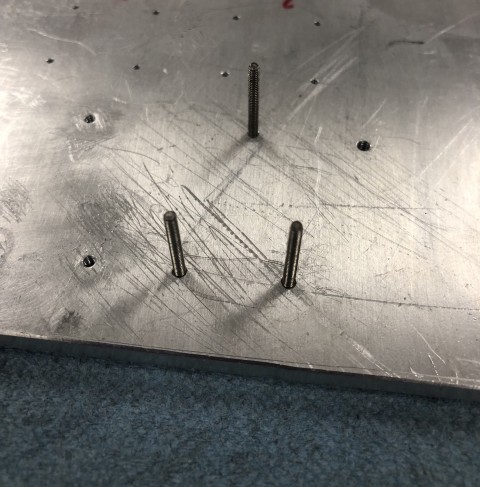
If you’d like to align the CV7 with the mounting hole, you can use some threaded rod (e.g. 18-8 Stainless Steel Threaded Rod, 2-56 Thread Size, 1" Long from McMaster-Carr) as shown.
-
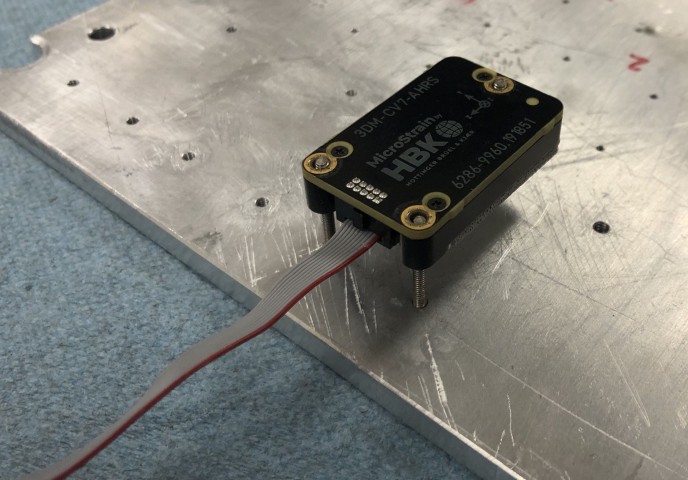
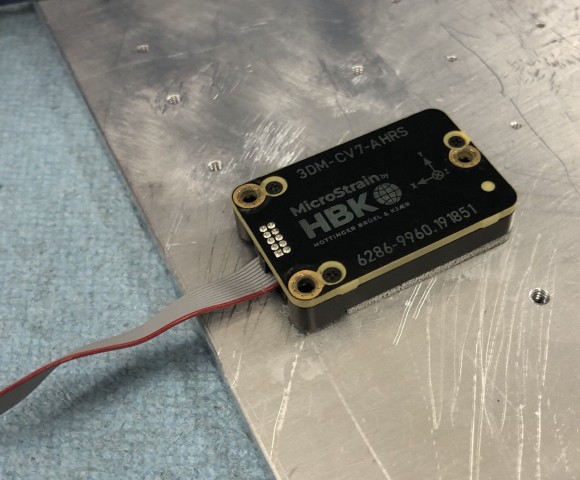
Attach the ribbon cable to the CV7 before moving forward. Once the CV7 is mounted down, it is difficult to remove it. Make sure the ribbon cable is pressed up against the header. Peel off the next layer of adhesive backing and place the CV7 down as shown.
-
Press gently down on the edges of the CV7 to promote a strong bond. The adhesive reaches full strength after 24 hours.
Removal Instructions
Due to the high adhesive strength, removing the CV7 after it has been mounted requires a specific approach. The CV7 can be removed from the foam mount by twisting the unit by hand. Be sure to grip the CV7 on the long sides of the enclosure when twisting it off. Most likely, the foam itself will break, leaving an adhesive layer on the CV7 and the mounting surface. A flat razor works well to scrap the adhesive off, and then alcohol to remove the rest of the residue.